
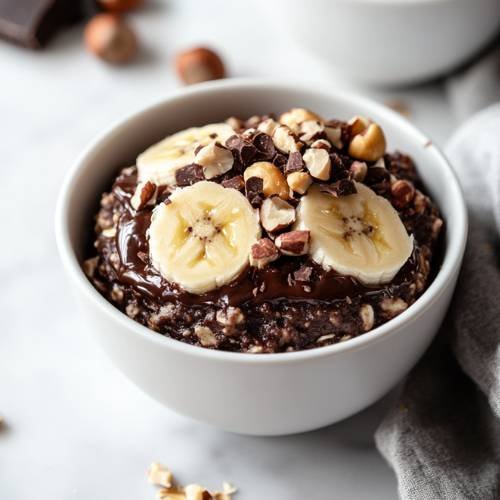
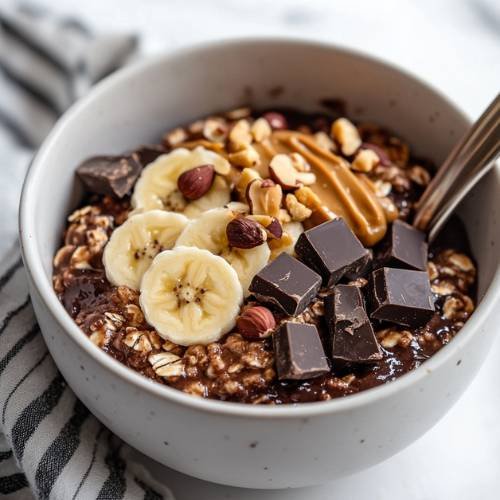
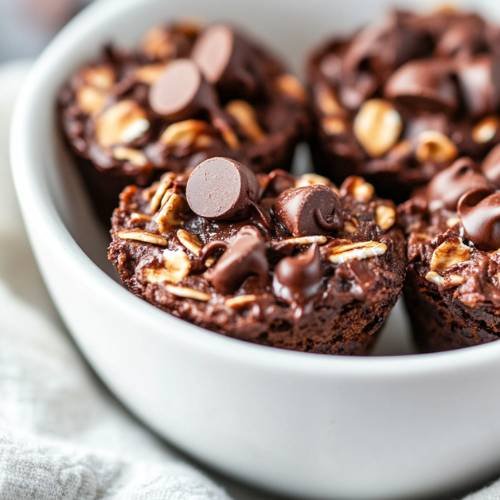
Looking for a delicious and nutritious treat to satisfy your chocolate cravings? These Chocolate Baked Oat Cups are an absolute game-changer! Packed with oats, protein, and a gooey chocolate surprise in the middle, they are a perfect breakfast, snack, or even a dessert. Not only do they taste AMAZING, but they’re also so easy to make, and you can customize them with your favorite toppings. A big shoutout to @sw_chris_mc for this gem of a recipe I’ve definitely found a new go-to for my sweet tooth!
Method
Preheat the Oven
Start by preheating your oven to 180°C (350°F). This ensures that it’s nice and hot when your oat cups are ready to go in, giving them that perfect golden-brown texture.
Prepare the Mixture
In a medium-sized bowl, combine all the ingredients, except for the chocolate spread. This includes the oats, yogurt, liquid sweetener, whisked egg, and white chocolate whey protein. Stir the mixture together well until all the ingredients are fully incorporated, and the batter is smooth. Make sure there are no clumps of oats or protein powder, so your oat cups bake evenly.
Prepare the Ramekin Dishes
Take two small ramekin dishes or any oven-safe baking dish you prefer. Lightly spray them with low-calorie spray to prevent the oat cups from sticking to the sides as they bake. The spray helps ensure easy cleanup afterward and makes it simple to remove the cups once they’re done.
Fill the Ramekin Dishes
Divide the oat mixture equally between the two ramekin dishes, pouring half into each. Then, add 1.5 teaspoons of the Cadbury chocolate spread into the center of each ramekin. This chocolate spread acts as a gooey surprise in the middle of each oat cup, giving it that deliciously sweet and creamy texture.
Top and Spray
Once you’ve added the chocolate spread, top the ramekin dishes with the remaining oat mixture, covering the chocolate spread completely. Afterward, give the tops a quick spray of low-calorie spray. This will help the oat cups bake with a slightly crisp top while keeping the inside soft and moist.
Bake
Place the ramekins in the preheated oven and bake for around 20 minutes. Keep an eye on them as baking times can vary slightly depending on your oven. The oat cups should turn golden brown and feel firm to the touch when done. If they’re not quite there after 20 minutes, bake them for an additional 2-3 minutes.
Add Your Toppings
Once baked, remove the oat cups from the oven and let them cool slightly. At this point, feel free to get creative with your toppings. I added a Twirl bite for a fun crunch and crushed frozen raspberries for a burst of freshness, but you can use whatever you like! Some extra chocolate spread, a dollop of whipped cream, or even a sprinkle of nuts would also make delicious additions. Enjoy!
Necessary Tools
- 2 small ramekin dishes (or any oven-safe baking dishes)
- Oven
- Whisk
- Measuring spoons and cups
- Low-calorie spray
- Spoon for mixing
Chocolate Baked Oat Cups
Cuisine: AmericanDifficulty: Easy2
servings10
minutes20
minutes30
minutesIngredients
40g oats
3 tbsp of yoghurt
1 tbsp of liquid sweetener
1 egg, whisked
10g @myproteinuk white choc impact whey protein
3 tsp filling (I used Cadbury chocolate spread, which is AMAZING!)
Extra toppings (optional) – I added a Twirl bite and a few crushed frozen raspberries
Directions
- Preheat the oven to 180°C.
- Mix all of the ingredients together in a bowl, except for the chocolate spread.
- Spray 2 small ramekin dishes with some low-calorie spray to prevent sticking.
- Pour half of the oat mixture into each ramekin dish. Add 1.5 tsp of the Cadbury chocolate spread in the center of each one.
- Top with the remaining oat mixture and give it a quick spray of the low-calorie spray.
- Bake in the oven for about 20 minutes, or until golden and cooked through.
- Add your toppings! Feel free to get creative add a Twirl bite, crushed raspberries, or any of your favorite toppings!
Notes
- Be careful not to overfill your ramekin dishes leave some room for the mixture to expand as it bakes. You don’t want the oat cups to spill over during baking!
- If you want your oat cups extra gooey, you can add a little more chocolate spread in the middle, but don’t go overboard, or it may make the texture too soft.
- Keep an eye on the baking time. Ovens vary, so check the oat cups after 18 minutes to see if they are golden brown. If not, give them a couple of extra minutes.


Serving Suggestions
These Chocolate Baked Oat Cups are super versatile. You can enjoy them on their own as a snack or pair them with a side of fresh fruit for a well-rounded breakfast. For an extra indulgent treat, top them with a dollop of whipped cream or a drizzle of extra chocolate spread. They’re also great with a cup of coffee or a cold glass of milk.
Fun Fact
Did you know oats are not only delicious but also packed with nutrients? They’re a great source of fiber, which helps keep you full and satisfied longer. Plus, they can help lower cholesterol, making them a heart-healthy option for breakfast or snacks.
Conclusion
These Chocolate Baked Oat Cups are the perfect combination of healthy and indulgent. They’re full of flavor, packed with protein, and have just the right amount of chocolatey goodness. Whether you’re looking for a tasty breakfast or a sweet snack, these oat cups are a must-try. They’re so easy to make, and once you try them, you’ll find yourself coming back for more!